As technology continues to evolve, our devices are becoming smarter and more intuitive. With the rise of virtual assistants and voice recognition technology, it’s easier than ever to navigate through our devices and complete tasks hands-free. Microsoft has taken this concept even further with their new feature, CoPilot.
CoPilot is a collaborative feature that allows you to share control of your device with someone else. This can be especially useful when trying to troubleshoot issues or guide someone through a process remotely. In this article, we will explore how to use Microsoft CoPilot on both Android and iPhone devices and all the features it has to offer.
What is Microsoft CoPilot?
Microsoft CoPilot is a collaborative feature available on both Android and iPhone devices that allows two people to share control over a device. This feature was first introduced in 2018 and has since expanded to include more devices and platforms.
CoPilot works by connecting two devices using a unique code and then granting one user control over the other’s device. The person in control can see and access everything on the other device, including apps, files, and settings. This makes it an ideal tool for troubleshooting or providing remote assistance.
How to Set up Microsoft CoPilot on Android
Before you can start using Microsoft CoPilot on your Android device, you will need to set it up first. The process is relatively straightforward and only takes a few minutes.
- Open the Google Play Store on your Android device and search for the Microsoft CoPilot app.
- Download and install the app on your device.
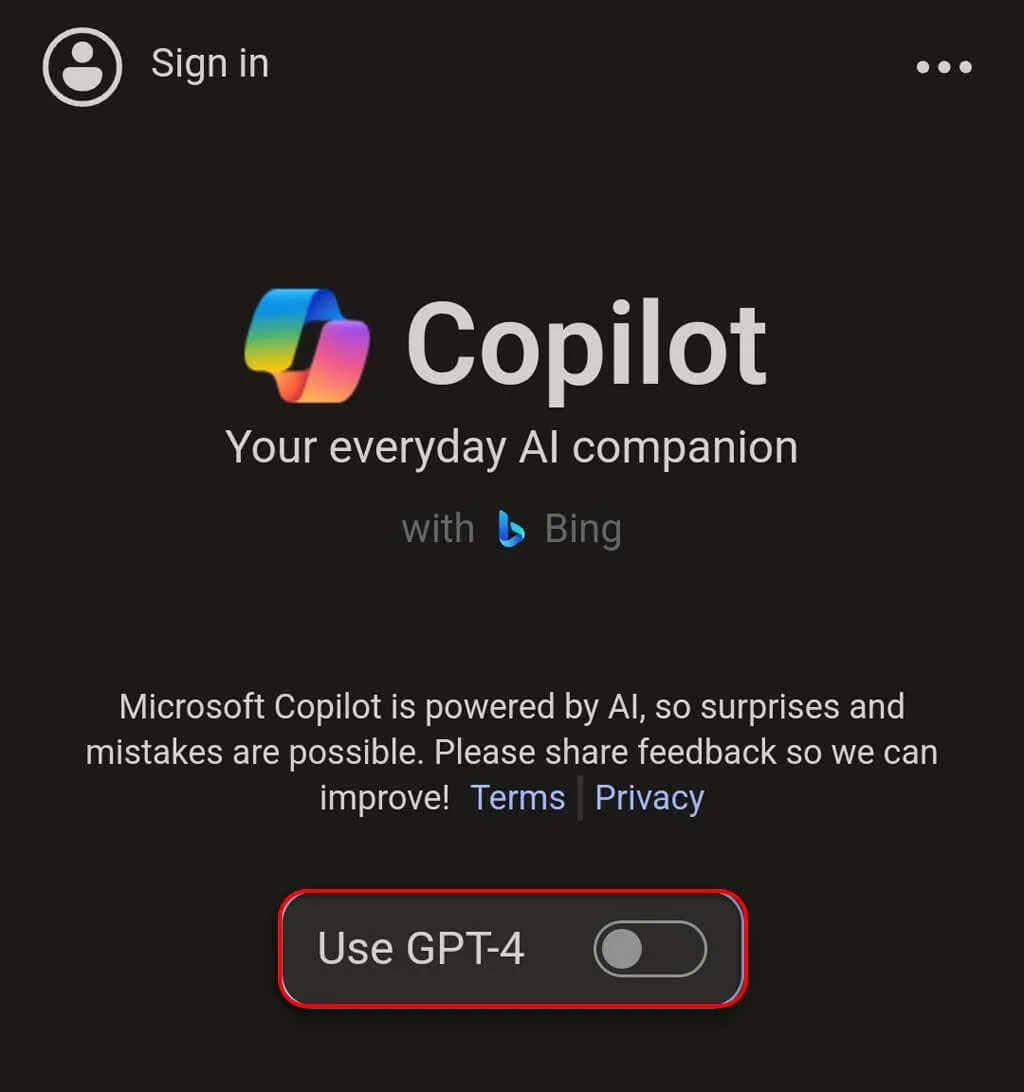
- Once installed, open the app and sign in with your Microsoft account. If you don’t have one, you can create one for free.
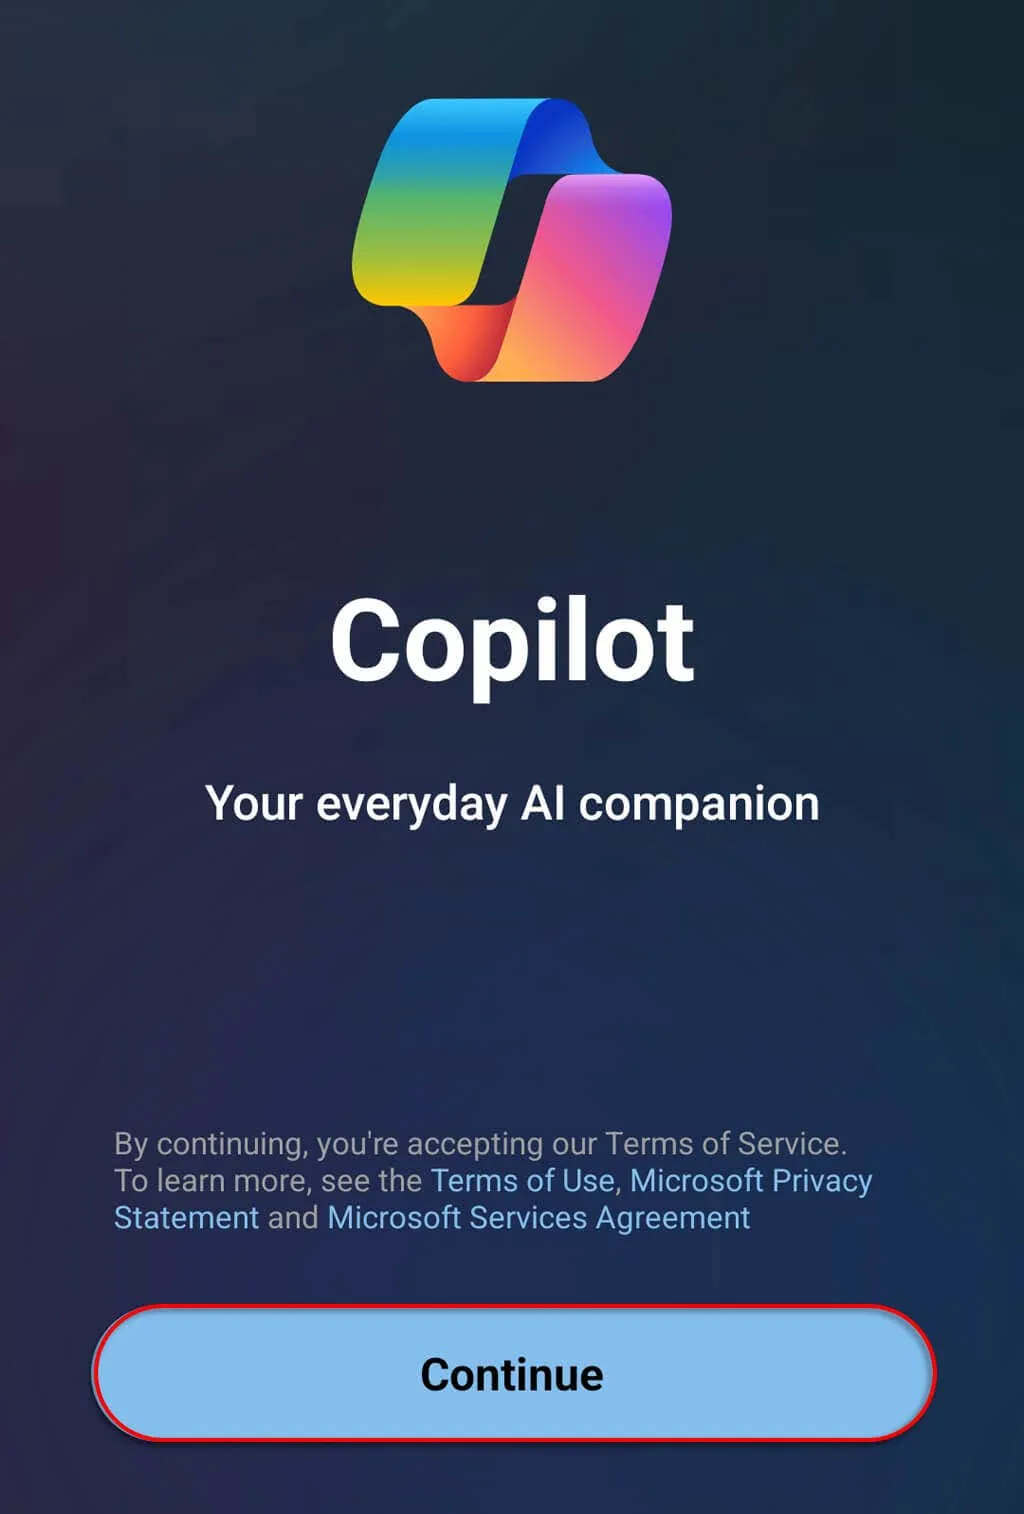
- On the home screen of the app, tap on the “Get started” button.
- Follow the prompts to enable “Accessibility service” for the CoPilot app.
- Next, you will be asked to grant permission for the CoPilot app to take screenshots. This is necessary for the person in control to see your screen.
- Once all permissions are granted, you will see a unique code displayed on your screen. This code is what you will need to share with the person who will be controlling your device.
How to Use Microsoft CoPilot on Android
Now that you have set up CoPilot on your Android device, let’s take a look at how to use it.
Share Your Screen:
- Open the CoPilot app on your device and tap on the “Get started” button.
- Enter the unique code generated earlier into the space provided.
- Tap on the “Share” button, and the other person will now be able to see your screen and control your device.
Request Control of Another Device:
- To request control of another device, tap on the “Request control” button on the home screen of the CoPilot app.
- Enter the code provided by the other user into the space provided.
- Tap on the “Request” button, and once the other person accepts, you will be able to control their device.
Using the Remote Control Feature:
The remote control feature allows you to control the other device without needing to touch it physically. You can use this feature to navigate through the device, open apps, and perform tasks just as if you were using it yourself.
To use the remote control feature:
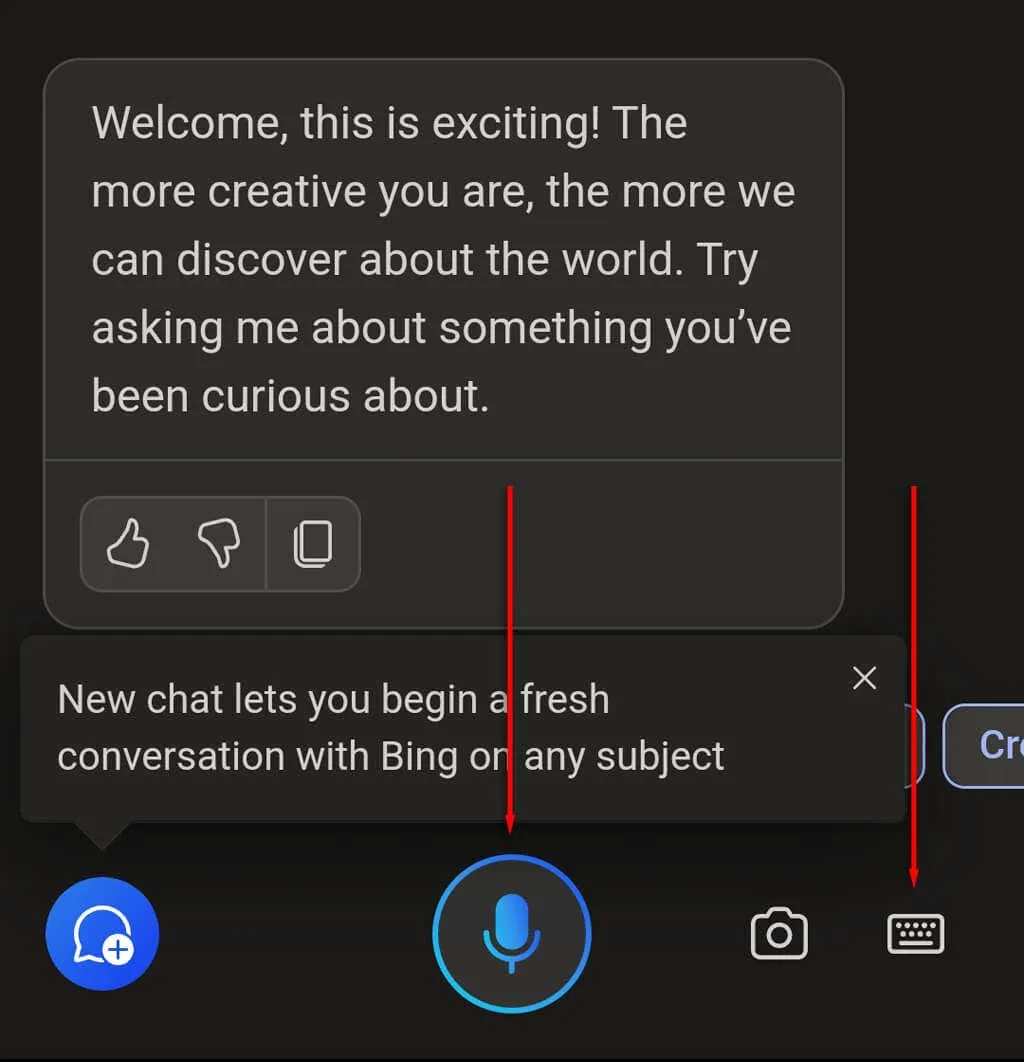
- On the home screen of the CoPilot app, tap on the three-dot menu icon in the top right corner.
- Select “Remote Control” from the menu.
- A virtual control panel will appear on your screen, allowing you to control the other device.
File Transfer:
CoPilot also allows for quick and easy file transfer between devices. This is helpful when troubleshooting or sharing documents or media files.
- To transfer a file, tap on the “File Transfer” button on the home screen of the CoPilot app.
- Select the file you want to transfer.
- Tap on the “Send” button, and the file will be transferred to the other device.
How to Set up Microsoft CoPilot on iPhone
The process for setting up Microsoft CoPilot on an iPhone is similar to that of Android devices. However, there are a few key differences.
- Open the App Store on your iPhone and search for the Microsoft CoPilot app.
- Download and install the app on your device.
- Once installed, open the app and sign in with your Microsoft account.
- On the home screen of the app, tap on the “Get started” button.
- Follow the prompts to enable “Accessibility service” for the CoPilot app.
- Next, you will be asked to grant permission for the CoPilot app to take screenshots. This is necessary for the person in control to see your screen.
- Once all permissions are granted, you will see a unique code displayed on your screen. This code is what you will need to share with the person who will be controlling your device.
How to Use Microsoft CoPilot on iPhone
Using Microsoft CoPilot on an iPhone is very similar to using it on an Android device.
Share Your Screen:
- Open the CoPilot app on your iPhone and tap on the “Get started” button.
- Enter the unique code generated earlier into the space provided.
- Tap on the “Share” button, and the other person will now be able to see your screen and control your device.
Request Control of Another Device:
- To request control of another device, tap on the “Request control” button on the home screen of the CoPilot app.
- Enter the code provided by the other user into the space provided.
- Tap on the “Request” button, and once the other person accepts, you will be able to control their device.
Using the Remote Control Feature:
The remote control feature allows you to control the other device without needing to touch it physically. You can use this feature to navigate through the device, open apps, and perform tasks just as if you were using it yourself.
To use the remote control feature:
- On the home screen of the CoPilot app, tap on the three-dot menu icon in the top right corner.
- Select “Remote Control” from the menu.
- A virtual control panel will appear on your screen, allowing you to control the other device.
File Transfer:
CoPilot also allows for quick and easy file transfer between devices. This is helpful when troubleshooting or sharing documents or media files.
- To transfer a file, tap on the “File Transfer” button on the home screen of the CoPilot app.
- Select the file you want to transfer.
- Tap on the “Send” button, and the file will be transferred to the other device.
Troubleshooting Tips for Microsoft CoPilot
While using CoPilot is usually a smooth and seamless experience, there may be times when you encounter some issues. Here are some troubleshooting tips to help you out:
- Check your internet connection: CoPilot requires a stable internet connection for it to work correctly. If either device has a weak or unstable connection, it can affect the quality of the remote control session.
- Ensure both devices have the latest updates: Make sure that both devices have the latest version of the CoPilot app and the latest software updates installed.
- Grant all necessary permissions: For CoPilot to function properly, you need to grant all necessary permissions for the app. These include accessibility services and permission to take screenshots.
- Try different connection methods: If you’re having trouble connecting with one method, try another. CoPilot offers three different connection methods – Wi-Fi, Bluetooth, and mobile data.
- Restart the app: If all else fails, try restarting the CoPilot app and reconnecting.
Conclusion
Microsoft CoPilot is a powerful tool that allows for seamless collaboration and remote assistance between devices. Whether you are trying to troubleshoot an issue or guide someone through a process, CoPilot makes it easier than ever to do so. With its user-friendly interface and various features, CoPilot is a must-have for anyone looking to improve their remote assistance capabilities on Android and iPhone devices.